
Just a note: some of my photos from my first blue block didn't work out, so a few photos are from another, purple cup. Don't let it throw you off -- its just different fabric, but the same process.
Fabric you'll need:
- One coloured square 4 - 6"
- Two white or background coloured squares 2 - 3"
- Two coloured strips 1" wide and about 8" long
- One white strip 1 - 2" wide (depending on the size of handle you want) and about 8" long
- extra white fabric to be cut later

Please sew everything with a 1/4 inch seam.
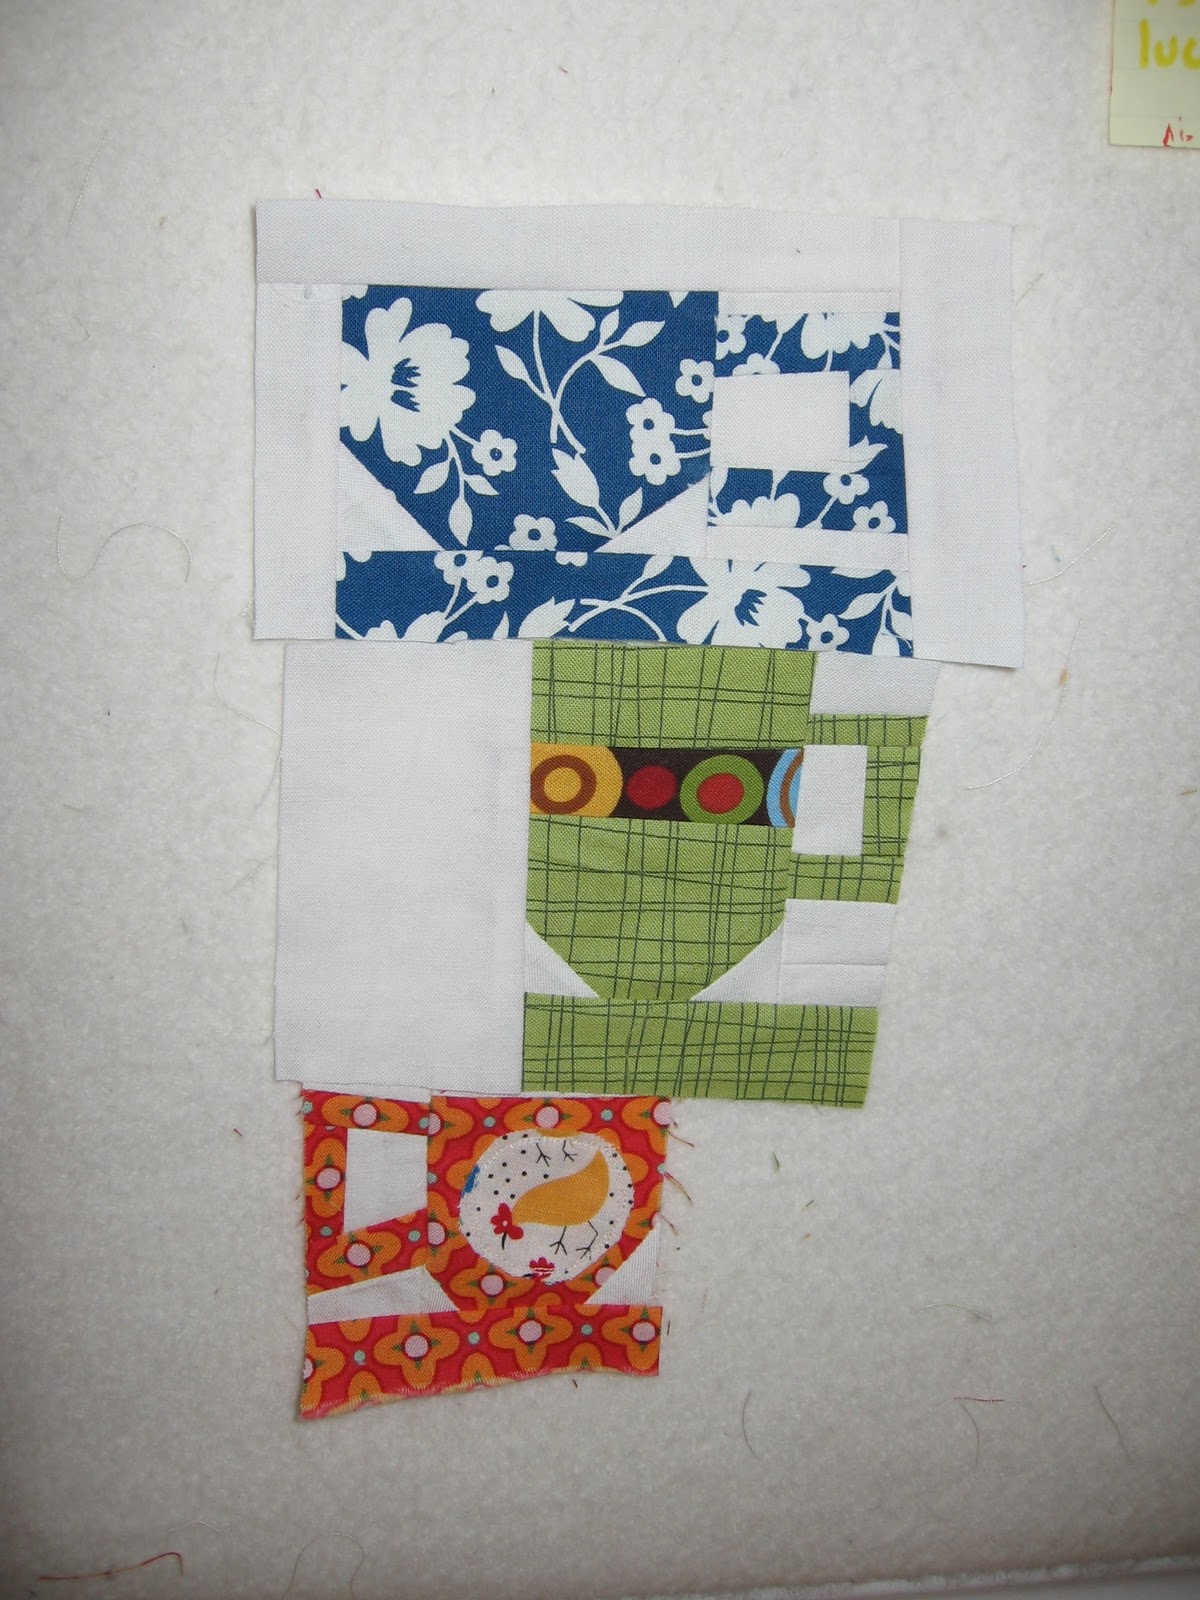
First, lay one white square over the corner of your teacup on the angle of your choice, and sew. Trim the corner off.

Press the white back over the coloured fabric.

Trim to a square.

Now, do the same thing on the other corner of the square.

Now, set aside the "body" of your teacup and start on the handle.

Sew a white strip across the top of your teacup body.

Sew the long white strip to one of the long coloured strips.

Press open.


It should look like this:

Press open.


Line up your third strip section so that it makes a handle that fits on your teacup body. Remember that an extra 1/4" of white will be added to the space you see now, so adjust your piece accordingly.

Put the two pieces right side together, and sew. Check that your handle is a good length, then trim off the excess fabric.

Press your handle open.


Press your handle open: You now have a teacup!

Square your teacup up by using a rotary cutter and a ruler to straighten the edges.
Sew the second long coloured strip to the bottom of the teacup, right sides together. Press open. Now your teacup has a saucer.

Hope you like this tutorial. Drop me a note if you use it for something, I'd love to see your teacups. Thanks.


12 comments:
great tute! i think i need to sneak some of these in this weekend!! thanks so much
These are soooo cute, Jill!! Thanks so much for the tutorial;)))
Thanks so much for the tute, I'm going to use this really soon to make 3.5" bitty blocks! Yay, I'm excited and your doll quilt is going to be SO wonderful. :)
Susan/FlosssieBlossoms
Hi Jill, just found you from your blog etiquette post on mummas time to create. I love this teacup tutorial, am now a follower so I can find it when I've got a spare moment to make it.
Sally
xxx
Sigh....one more fun block to add to my ever-growing list of TO-DOs!!
Thanks for the wonderful tute - I'll be looking forward to seeing the quilt you're planning for these. :^)
I also found you from your etiquette post. I love your teacups, great idea.
These blocks are great, especially the purple one with the great big flower in the middle. Thanks for the tutorial, I will bookmark it now.
Lisa
PS Found you through the ettiquette week postings... love what you have to say.
I am definitetly going to try making this, they are adorable! I love tea, and collect teapots, so this would be so much fun to make!
Thanks for tute Jill. These look really fun and I'd LOVE to make you a couple as requested! :)
That is SO awesome! Thanks so much for sharing!
these are so cute. i love them. hopefully i can think of something super crafty to make out of them. great tutorial and inspiration. thank you.
thank you so much much for this great tutorial. I already used it for a potholder. i finally uploaded a picture to my new flickr album where you can see it now: http://www.flickr.com/photos/96796898@N03/
i really enjoyed making it.
Post a Comment